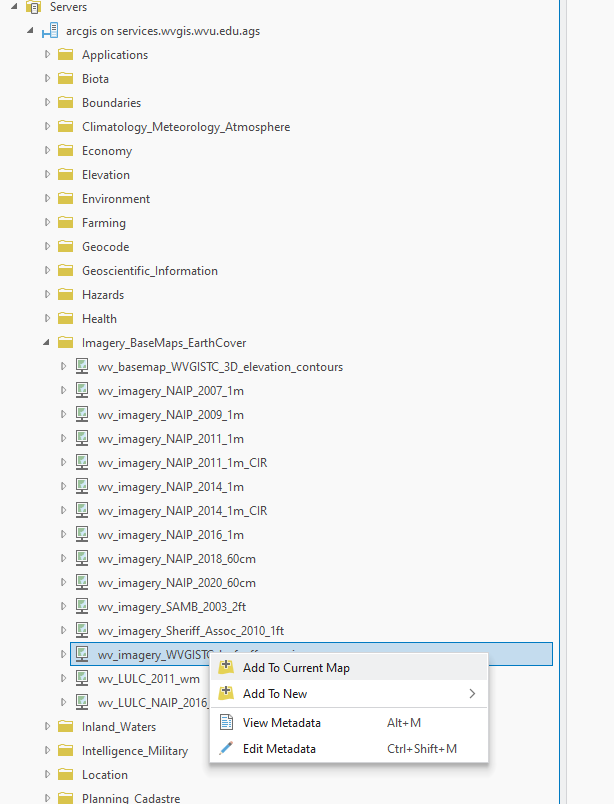
This document provides general steps to add an ArcGIS server-based Web service, including Map services and Geocoding services, into ArcGIS Pro. There are two ways to do this: adding an individual service/layer via URL, or adding it after creating an ArcGIS Server connection.
Option 1: Add REST service via URL (Recommended)
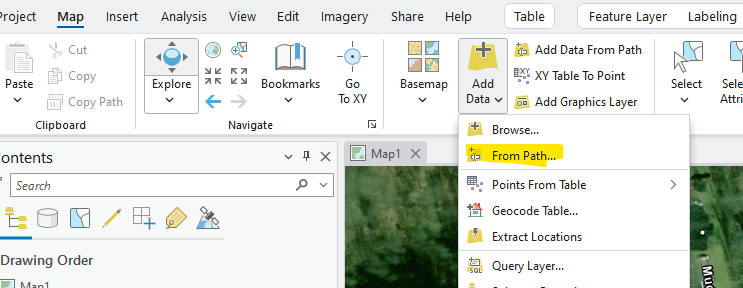
Step 1: On the Map tab, in the Layer group, click the arrow next to Add Data, then click From Path  in the dropdown.
Step 2: Type the path or URL to the dataset. This can be a URL to a map or imagery service (e.g. https://services.wvgis.wvu.edu/arcgis/rest/services/Imagery_BaseMaps_EarthCover/wv_imagery_WVGISTC_leaf_off_mosaic/MapServer) or a single layer in a service (e.g. https://services.wvgis.wvu.edu/arcgis/rest/services/Boundaries/wv_political_boundary/MapServer/0). The dropdown for Service type should automatically update to "An ArcGIS Server Web Service". If not, select this option manually.
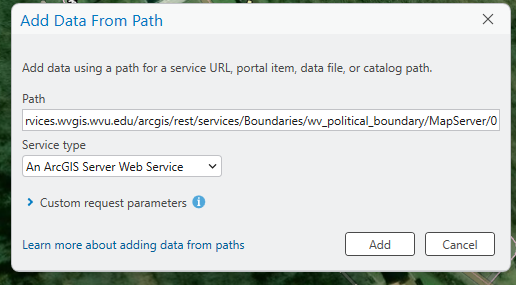
Step 3: Click Add to create a layer in the map or scene referencing the data. You should see the layer added to the Table of Contents on the left side of your screen.
Option 2: Add REST service by creating an ArcGIS Server connection
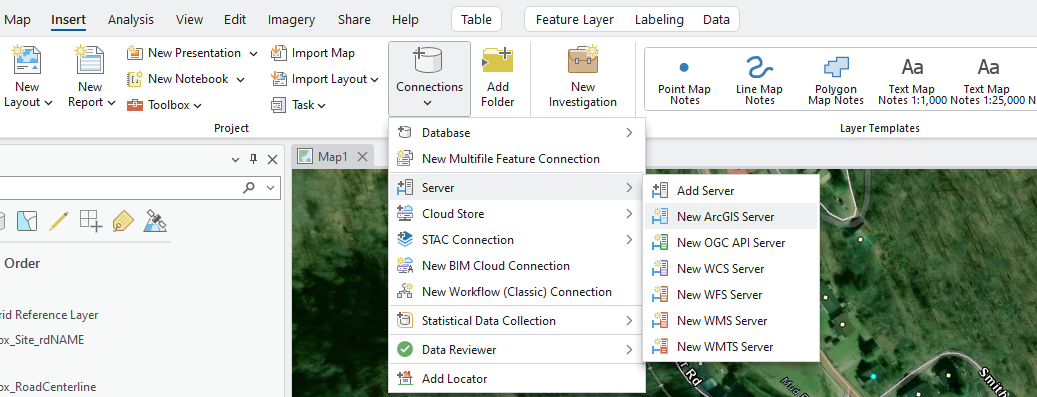
Step 1: On the Insert tab, click the arrow below Connections  , then click Server ⇒ New ArcGIS Server
  .
.
Step 2: In the Server URL box, type the URL of the ArcGIS Server site (e.g. https://services.wvgis.wvu.edu/arcgis/). Leave the Authentication fields empty.
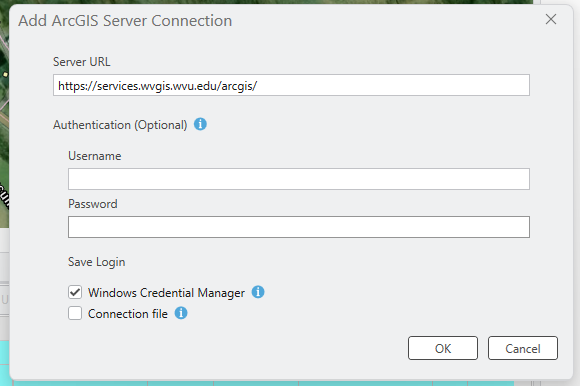
Step 3: Click OK to create the connection to the specified ArcGIS Server. The connection will show up under Servers in the Catalog pane on the right side of your screen.
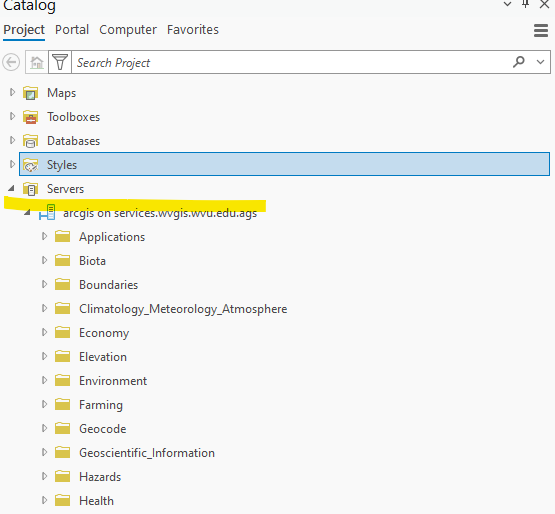
Step 4: Double click the connection to expand it, pick a service from any of the folders of interest, right-click on the service (or a layer under a service) and click "Add to current map". You should see the layer added to the Table of Contents on the left side of your screen.