Using the Tool
1. From the introductory page, click on the button, Fishing or Hunting/Trapping, to open the map. Once within the tool, you can always switch between the hunting and fishing views by clicking on their respective buttons at the top of the map interface.
2. On the right side of the screen, several menus and sub-menus are available to you:
a. The Legend menu contains two sub-tabs, Layers (“Fishing” or “Hunting/Trapping”) and Background Layers.
i. The Layers tab displays the map’s legend. You will find, as you zoom into an area, that more layers (details) about an area become visible to you. This tab will update to reflect the changes to visible layers and the map symbology. ii. The Background Layers tab allows the user to personalize the base map. You may choose one “Base Map” or “Imagery” background for the display by clicking on the icon for the Base Map/Imagery you would like to use. Note: Some of the backgrounds appear as unavailable (they will be grayed out on the menu); this imagery can only be selected after you zoom in, to a more detailed view, on the map window.
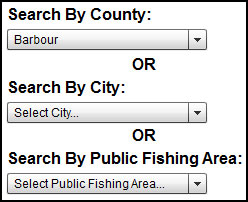
b. The Search menu contains three drop down menus each of which allow you to zoom to an area of interest and view a list and map of other features in that region.
i. You may choose to search within a county, within 15 miles of a city/town or 10 miles of a public hunting land or fishing area.
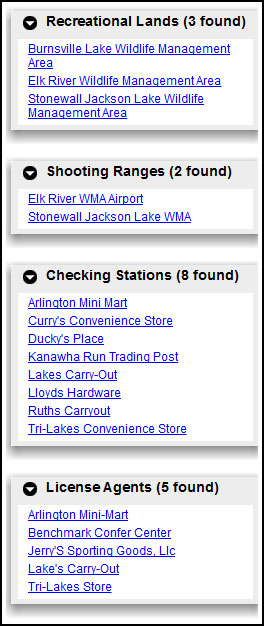
c. The Results menu contains the results of your search. These results are sorted by type, i.e. Check Stations, Angler Access Sites, WMAs, Trout Stocked Streams, etc. Each result is clickable and when a result is clicked the map will zoom to the area where the resource is located on the map.
3. You may choose to close the menus on the right side of the map and negotiate the map manually. Simply click the vertical bar labeled Close, on the side of menu pane to toggle the menu off and on.
a. “Pan” around the map using your mouse. Click and hold the Left mouse button as you move the mouse and the map will mirror your movement.
b. “Zoom” in and out of the map. Use the roller on the mouse to zoom in and out or use the vertical slider at the upper left corner of the map +/-.
c. The small globe in the upper right corner of the map can be used to zoom to a view of West Virginia.
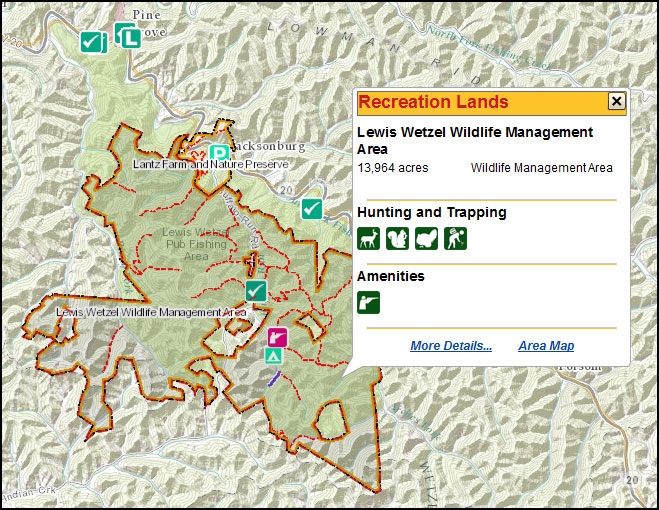
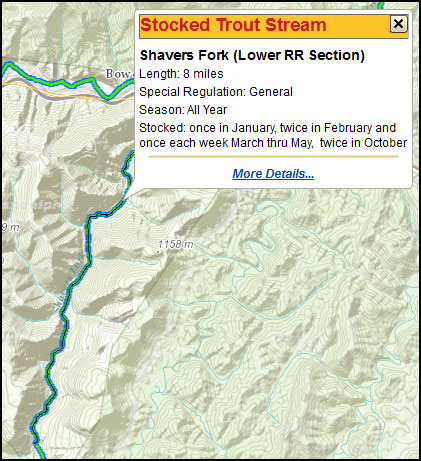
4. Active content in the map will return details about the features on the map. Click on icons, WMAs, streams, lakes, etc. and a popup will appear with details about the feature. Some features have an additional level of detail available that is accessible via a link (“More Details…” or “Area Map”) within the pop-up window.
 |
 |
5. The Tools menu on the left side of the map contains several useful functions for printing maps, sending links to friends and family, and measuring distance and area. Instructions for these tools are contained within the individual tools.

6. Across the top of the map are links to other resources.
a. You can purchase a Hunting or Fishing License online.
b. You can toggle between the Hunting/Trapping and Fishing Maps.
c. You can access contact information for the DNR Districts.
d. You can view Hunting/Trapping or Fishing Regulations.

.gif)
